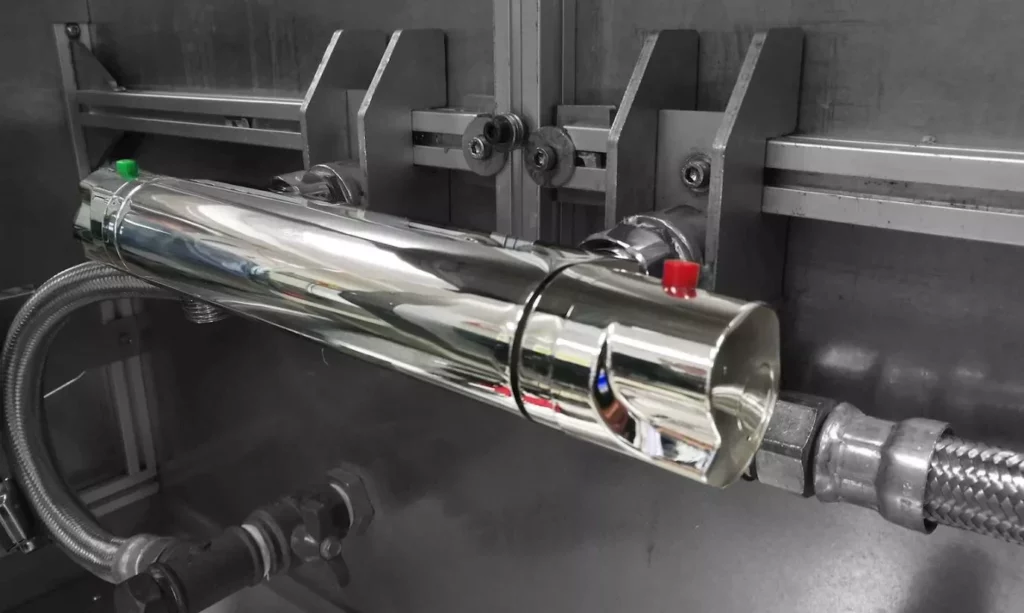
Replace your thermostatic cartridge with ease!
Find a clear and detailed tutorial to easily and quickly change your thermostatic shower cartridge.
In just a few minutes, you can enjoy a shower like new.
If you have any questions or need assistance, please do not hesitate to contact us – Sergius is here to help!
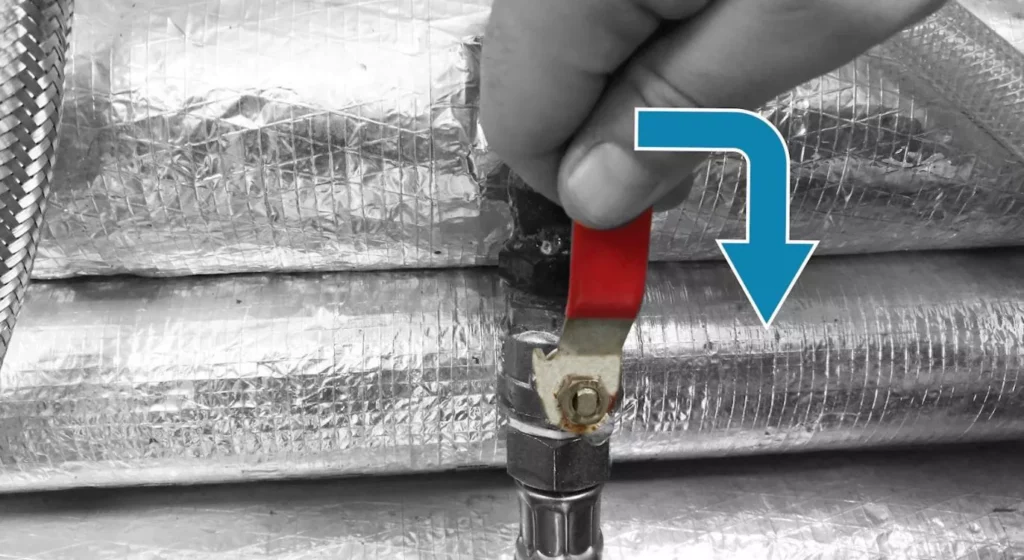
Step #1:
Cut off the water supply then empty the thermostatic mixer by opening the flow lever.
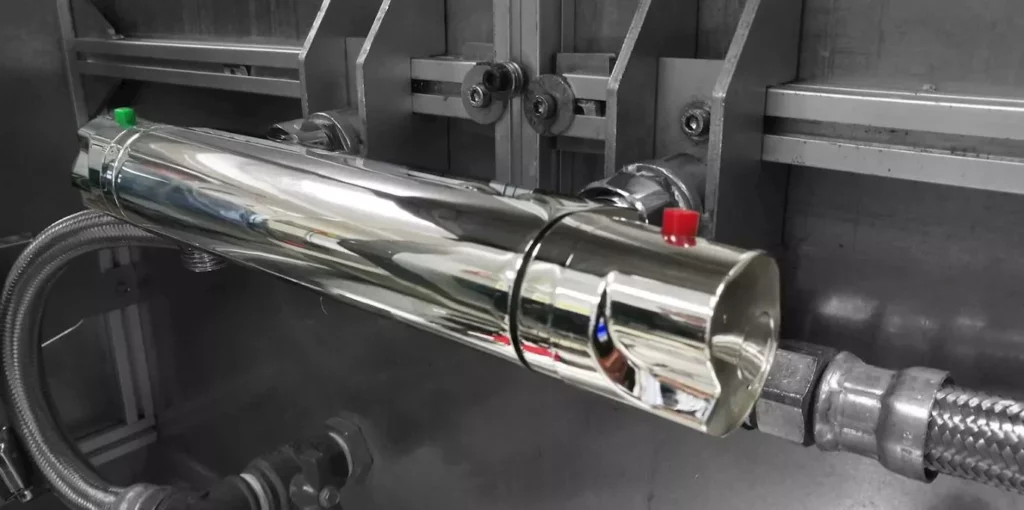
Step #2:
Locate the temperature adjustment lever, on which the next steps will take place.
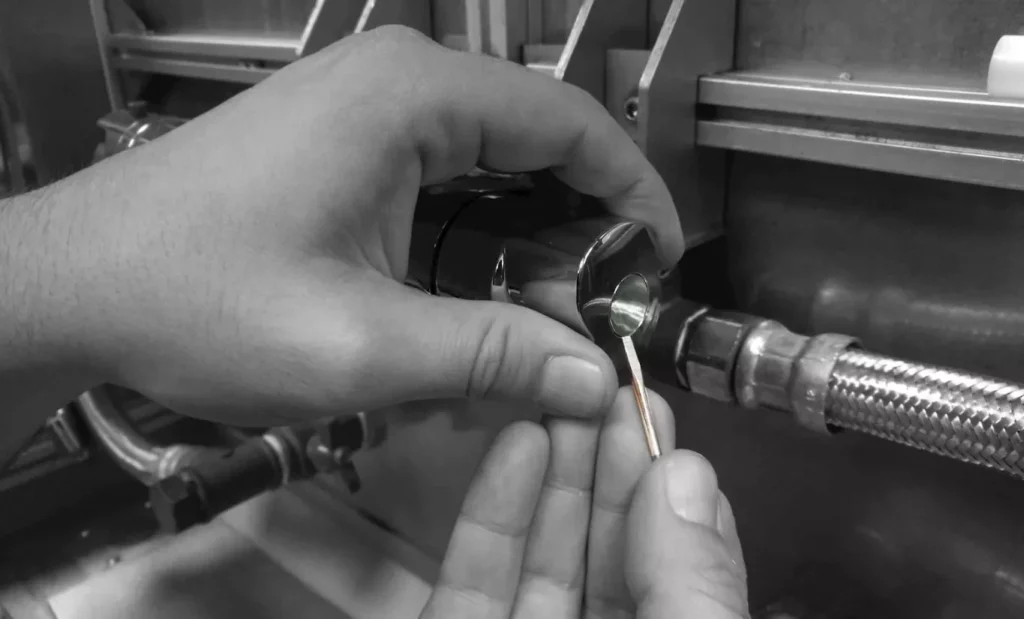
Step #3:
Remove the temperature knob screw cover using the appropriate tool.
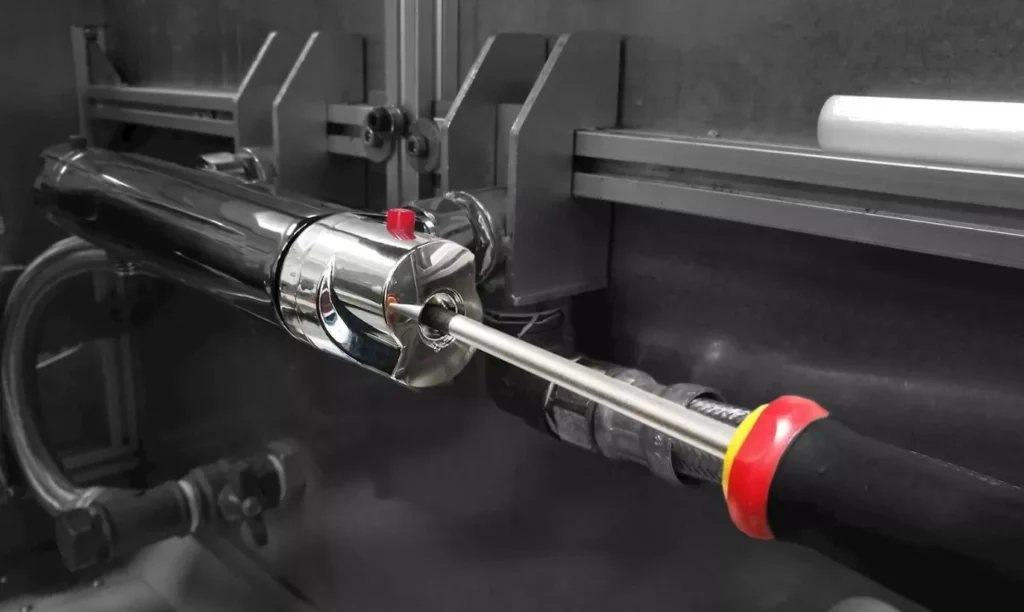
Step #4:
Loosen the screw to reveal the thermostatic cartridge.
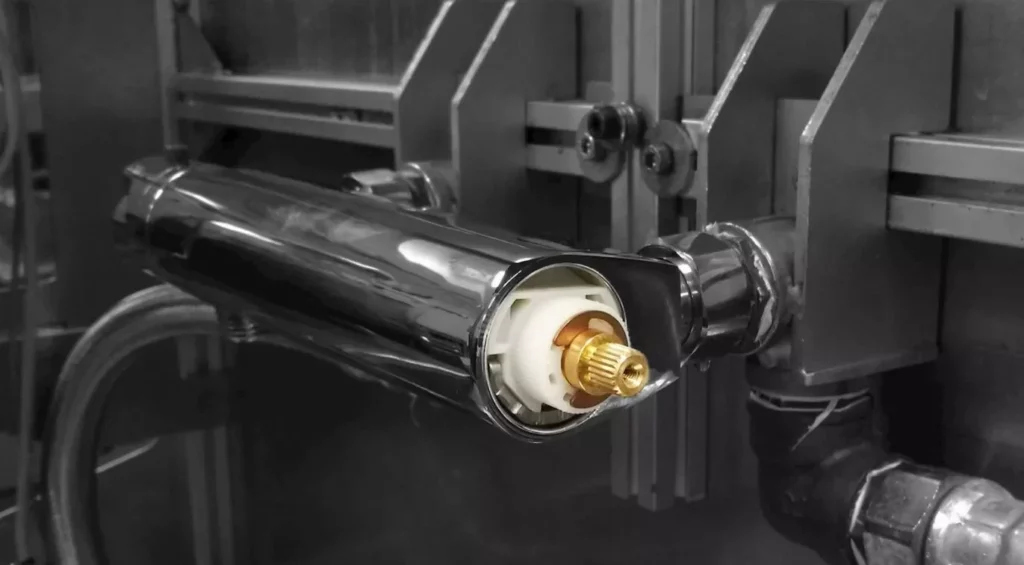
Step #5:
Remove the lever. Be careful, take a photo to identify the position of the safety stop.
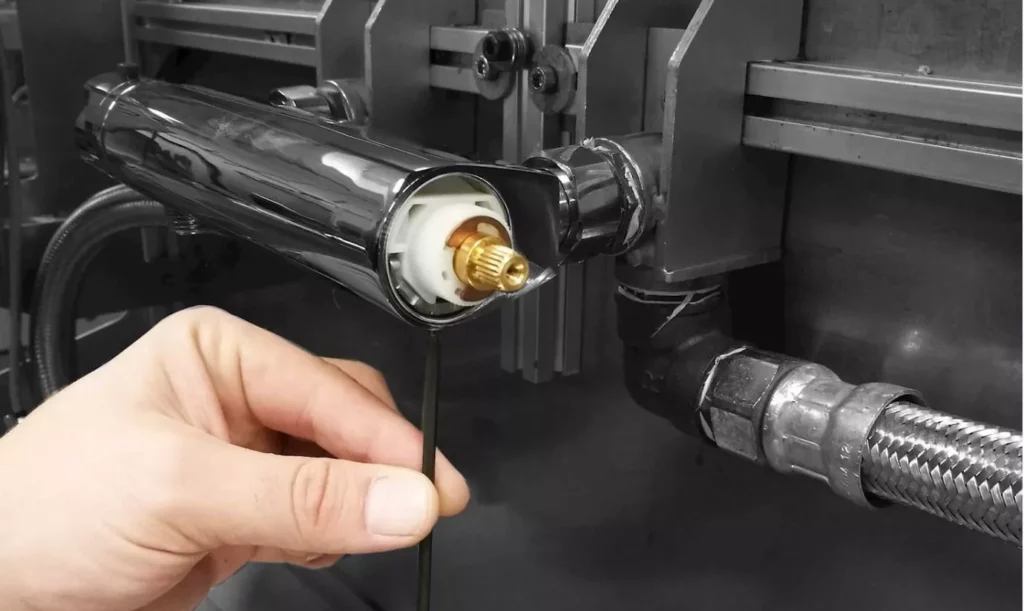
Step #6:
Using a hex key, unscrew the head locking screw.
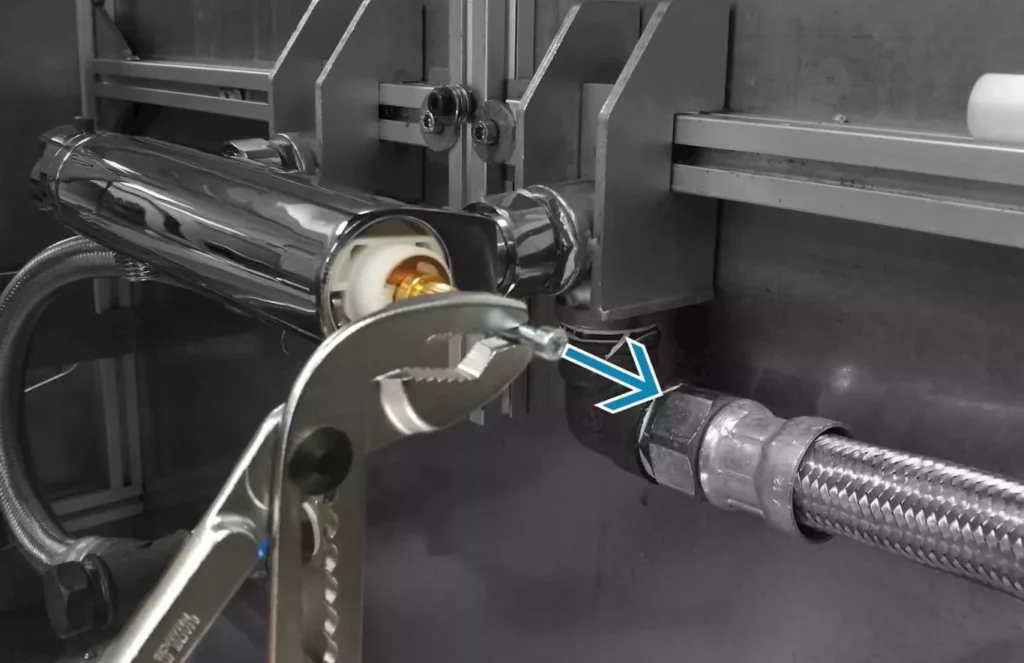
Step #7:
Extract the thermostatic cartridge by inserting a diameter 4 screw then pull it with pliers to avoid damaging the cartridge.
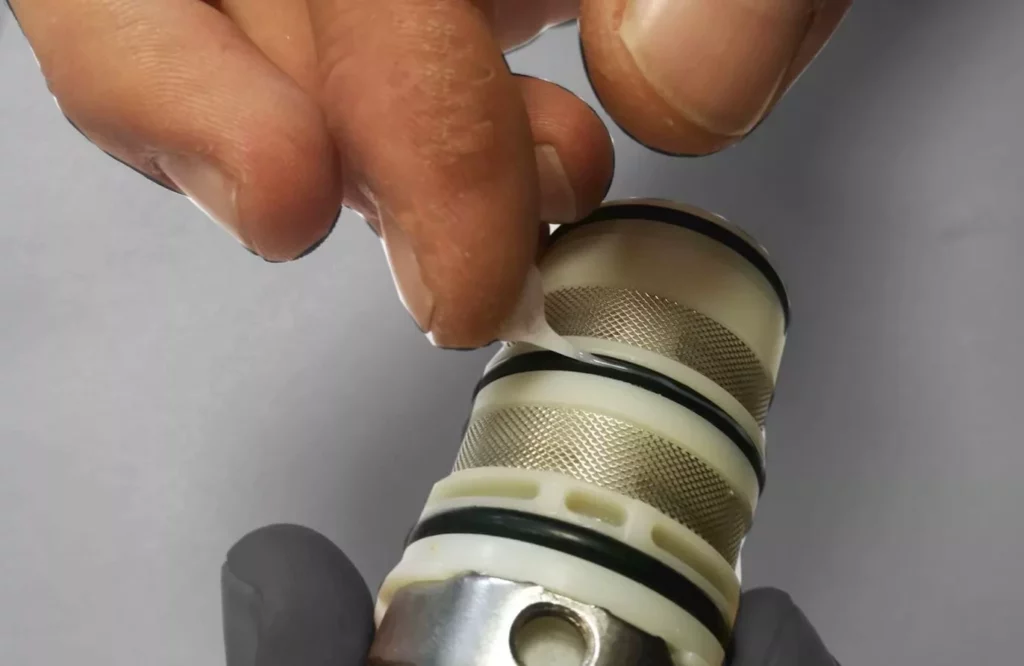
Step #8:
Before assembling your mixer, grease the joints with silicone grease.
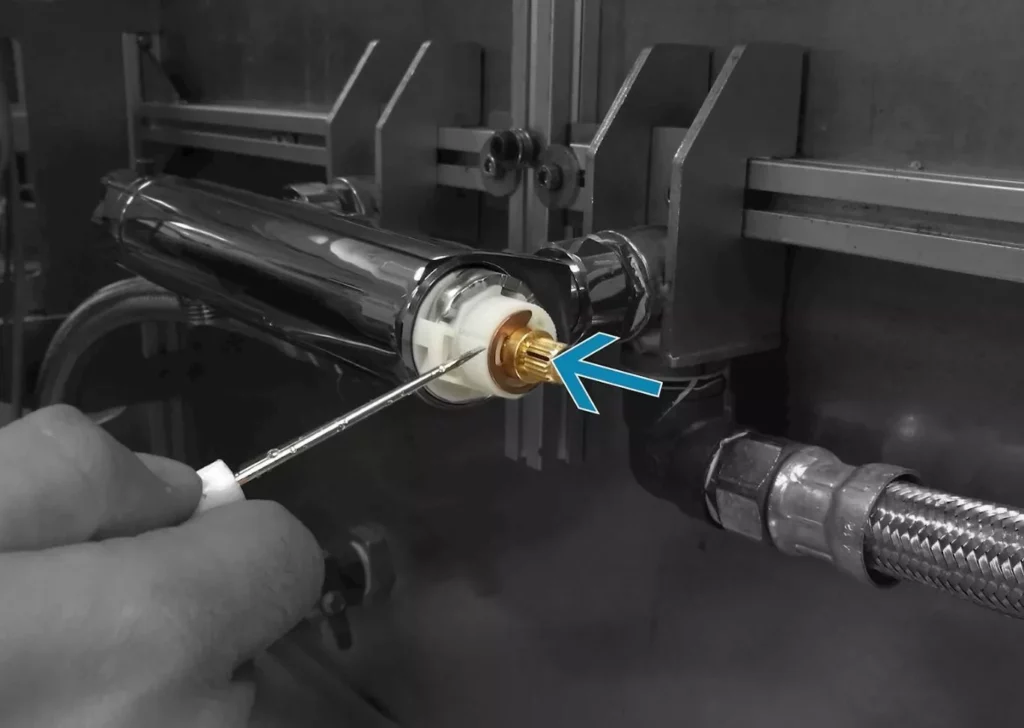
Step #9:
Reinstall the head and push it in completely to align all the mounting holes.
Generally a mark is present on the screw, this mark indicates the 38°C setting of the cartridge.
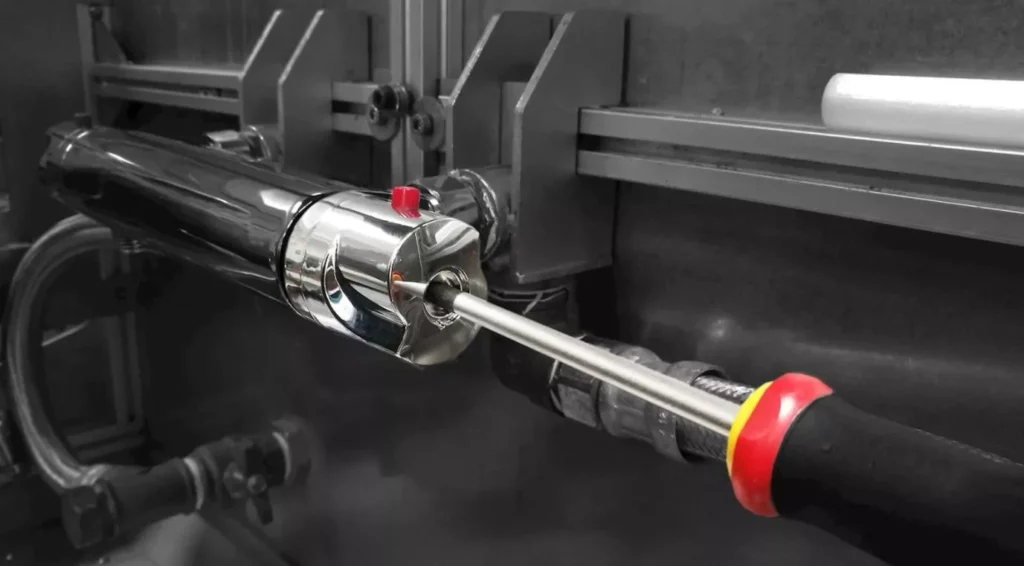
Step #10:
Tighten the screw.
